Scrunchie Time
- RoxAnne Dent
- Jan 5, 2021
- 2 min read
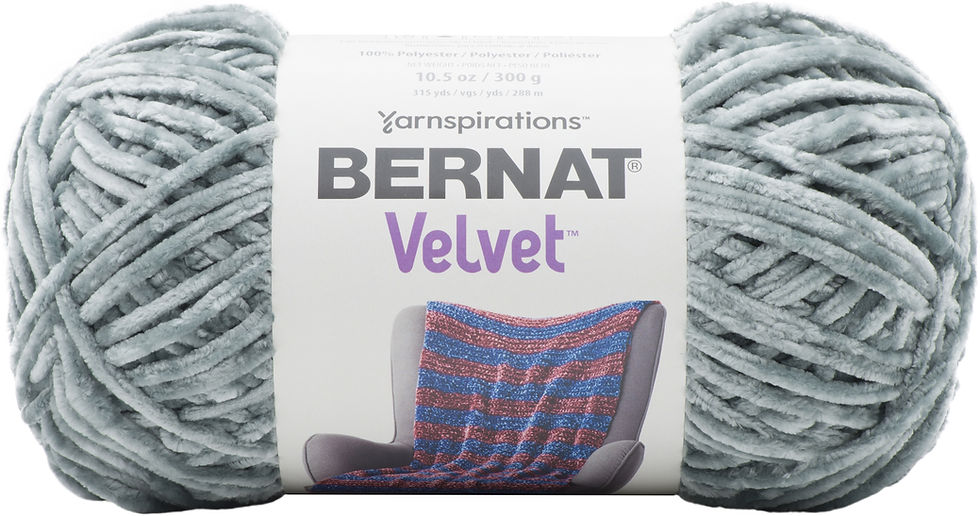
So this weekend, I found this velvet yarn on clearance at Jo-Ann’s and I just couldn’t pass it up. I loved the color but they only had the one skein of it available. So I purchased it with the thought of a small project to be completed with it but not knowing what.
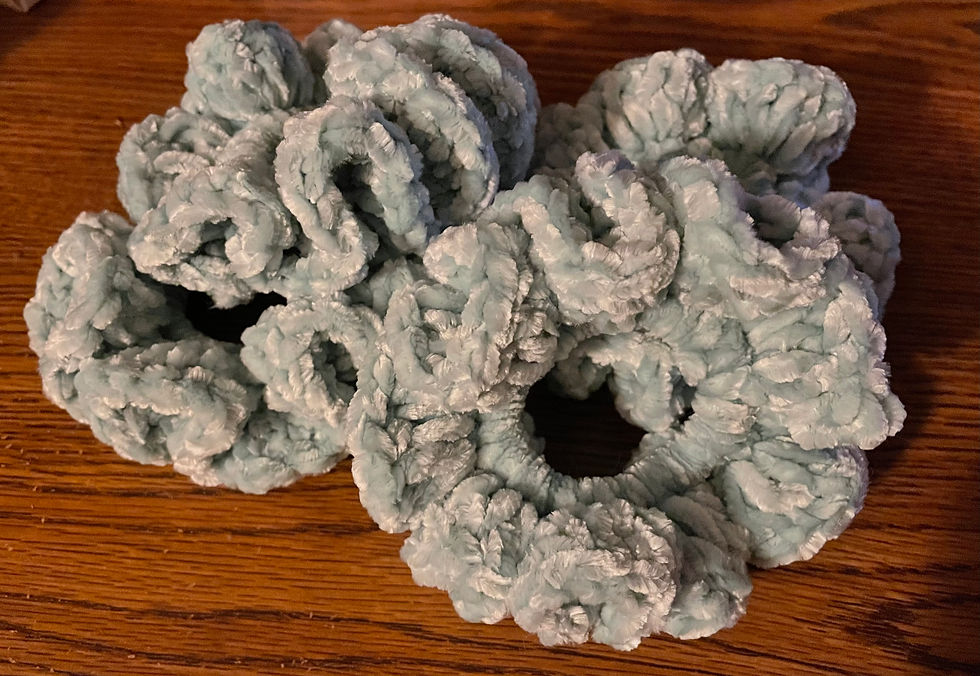
Fast forward a few hours later and it hit me, scrunchies. I’m not sure if these are still popular, but earlier in 2020 my daughter couldn’t get enough of them, so I thought why not make some. I figured this would be the perfect yarn for it and wouldn’t take long to make.
So I went ahead and grabbed a hair tie and started. I didn’t really have anything in mind other than me trying to create the rippled look I remember from them. I ended up doing a round of single crochets over the hair tie. I just kept adding them to the hair tie was covered. Then I would push them together to get a few more on there. On average I got about 50 single crochets around the hair tie. Then slipped stitched to the first single crochet and chained three to start the next round. For this round I just did 3 double crochet in a single stitch, then next stitch did 2 double crochets in the stitch all the way around. When I got back to the beginning instead of skipping the spot that is created from the slip stitch, I continued with the pattern and filled in that gap you sometimes get. I then slipped stitched to the first double crochet and not the chain 3.
I was able to finish 4 of these while watching football this past Sunday. My daughter even asked for one as soon as she saw it was completed. Simple project when you are short on time.
Pattern Details:
6 MM Hook
Bernat Velvet Yarn
Hair Tie
Scissors
Needle
Round 1:
SC around the hair tie until the hair tie is covered (about 50 stitches)
Slip stitch to the first SC
Round 2:
Chain 3 in same stitch as the slip stitch, then add 2 more double crochets to this same stitch
Repeat 2 double crochet in next stitch, 3 double crochet in next stitch until all stitches are filled
Continue pattern in the gap created by the slip stitch to help hide any gaps if desired
Slip stitch to the top of the first double crochet (not the chain 3) to also help hide any gaps.
Bind off and weave in ends


Comments